In the realm of printing and labeling, the term die cut refers to a finishing process by which a custom-made cutting tool (a die) is used to cut, shear or form a specific shape out of your chosen material. Think of it as a cookie‐cutter for your printed sheet or label roll. According to the team at Hongsheng, die cutting uses a custom-made die to create labels in any shape you want, letting you match your product’s look and container perfectly.

Die cutting in printing is a fabrication process where a substrate (paper, film, label stock, etc.) is converted by cutting, forming or shearing via a specialized tool (the die).
The die is the custom metal piece (often steel-rule or a flexible steel sheet) shaped in the form of the cut you want.
The substrate is fed through a machine where the die presses into it, cutting out the shape and removing the excess material.
In label printing, die cutting allows for custom shapes, internal cut-outs, special contours, perforations, and other non-standard finishings that go beyond plain rectangles.
The dieline is the outline in your artwork that shows where the die will cut; typically it is marked in the proof as a coloured line and on its own layer.
Why use it? Because custom shapes make your product stand out, allow you to better match packaging geometry, create unique brand identity and enable special functional features (e.g., peel tabs, windows, perforations). But it also adds complexity, tooling cost and setup steps — so it’s important to understand how it works and when it makes sense.
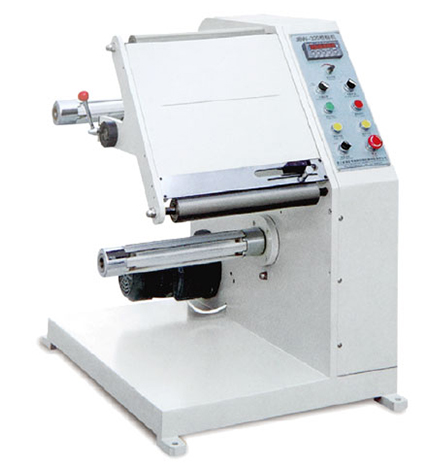
The die is mounted on a flatbed press (hydraulic or other lifting system) and presses vertically down onto sheet material.
Best for: low-volume projects, larger sized or thick/heavy substrates (e.g., felt, fibreboard, fabrics) — not typically suited for narrow label rolls or high-speed web runs.
Because of its nature, it is slower and more suitable where precision is needed and the material is rigid.
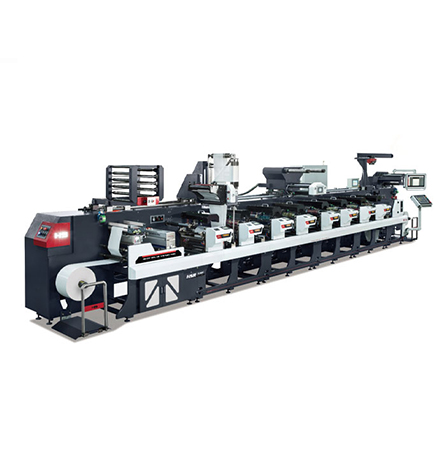
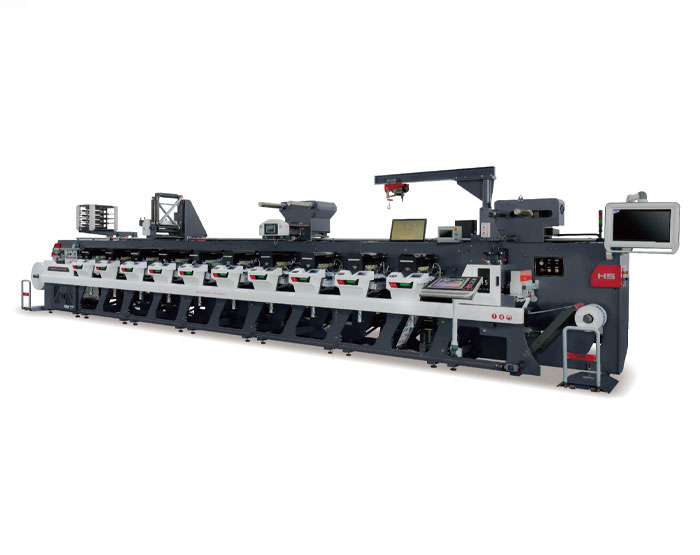
Uses a roll (web) of material passing through a machine where a cylindrical die (solid or magnetic) makes the cuts.
Ideal for high-volume production, roll-to-roll label manufacturing, continuous web feed.
Solid dies: steel cylinders with the shape already formed. Flexible dies: thin steel sheets wrapped around a magnetic cylinder — lower cost for custom shapes.
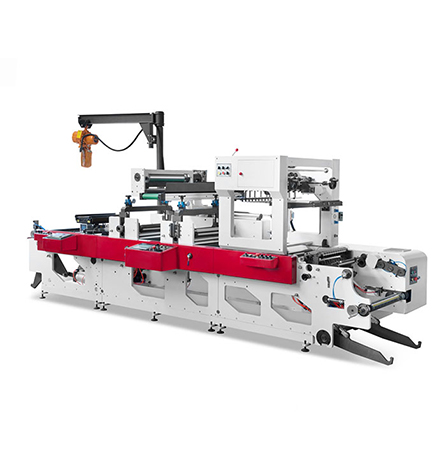
A hybrid: uses a cylinder die but the web feed is intermittent (moves back and forth) instead of continuously through. The cylinder rotates to align the die, then the web moves to make multiple cuts from one cylinder.
Advantage: increased flexibility for custom labels; faster turnaround for shapes without needing many different dies; efficient for moderate-volume custom runs.
When designing or specifying die-cut labels, there are a number of important factors and best-practices to keep in mind.
Avoid extremely sharp corners or acute angles: these may tear or lift when the matrix is removed after die cutting.
If you include holes or internal cut-outs, ensure there’s enough space (material width) between edge of label and hole to avoid thin material strips tearing.
Ensure you include a bleed area (for printed graphics) extending at least 1/18 past the label edge so that small shifts in cutting don't leave unintended white space.
Include a separate dieline as a spot colour layer in your artwork (e.g., in Adobe Illustrator) so the die-maker/printer knows exactly where the cut will be.
The dieline should be a joined (continuous) line, on its own layer, clearly showing the intended cut path.
Consider your substrate thickness, material type, adhesive/liner (for labels). Some materials may require stronger dies or different cutting pressure, and may not be suited for certain die-cutting methods.
For high volumes and standard materials, rotary/semi-rotary are efficient; for heavy or rigid substrates, flatbed may be required.
Tooling (die) cost: custom shapes cost more in tooling and setup. If your run length is short, you need to assess whether the added cost is justified.
Setup time and die cost add to the overall cost — for short runs or frequent shape changes, the overhead may reduce cost-effectiveness.
Waste: matrix removal, scrap, mis-cuts — good layout, multiple-up on sheet/web, and proper machine calibration help minimize waste.
Turnaround: Smaller runs with unique shapes may take more time if tooling is custom; working with a converter who has a library of dies can speed things up.
When considering custom label solutions, partnering with a label processor who understands die-cutting processes is always a wise move. If you or your designer still need assistance with how to prepare die-cut label designs, Hongsheng can support you. We have a variety of different die-cutting molds, and if these don't meet your needs, we also have the expertise and capability to create custom shapes for your brand. If you have any questions about die-cutting processes, or if your business requires custom label printing services, please contact us today.
Die cutting is a powerful finishing process in label and printing work. It gives you shape flexibility, unique contours, internal cut-outs, and helps your product stand out. But with that flexibility comes additional planning: you must understand what die cutting is, what process is most appropriate (flatbed, rotary, semi-rotary), what you need to consider when designing die-cut labels (shape, artwork, material, tooling).
Q: What exactly does “die cut” mean in label printing?
A: It means the label (or substrate) has been cut using a custom tool (die) into a specific non-standard shape (or possibly with internal cut-outs or perforations). The die presses the material and removes excess (“matrix”), leaving the intended shape.
Q: Can die cutting only cut through the material fully?
A: No — there are variations. For instance, kiss cutting (where only top layers are cut and liner remains intact) is common in sticker/label manufacturing. While the article focuses on die cutting broadly, materials may incorporate cuts, partial cuts, perforations, or scores depending on function.
Q: What is a “dieline” and why is it important?
A: A dieline is the guideline in your artwork that shows where the die will cut, fold or perforate. It’s critical for the die maker and printer to align the cut correctly and avoid mis-registration, tearing, or unintentional white edges.
Q: How do I choose between flatbed, rotary or semi-rotary die cutting?
A: As general guidance:
Flatbed: best for sheet materials, low volumes, thick or rigid substrates.
Rotary: ideal for roll-to-roll, high speed label production, continuous feed.
Semi-rotary: a hybrid that offers flexibility (especially for custom labels) with better efficiency for moderate volumes.
Your material type, substrate size, run length, cost constraints and shape complexity will dictate the best process.
GET A QUOTE